
$15 Open Source Camera Lens for Canon EF
A 3D-printed design for cost-effective shots.


Concept
Every photographer has different needs when it comes to lenses - in price, speed, and focal length. The Pixels and Prisms 163mm f/2.5 telephoto lens is a customizable optical system that offers a low-cost, open-source alternative to commercial lenses through 3D-printing.

The Pixels and Prisms lens has a focusing mechanism and fully-adjustable aperture. This is in contrast to other 3D-printed lenses, which house elements in fixed tubes without adding functionality.
Features
The optic features all of the functions that you could expect to find in a commercial manual-focus lens.

These include (of course) a manual focusing mechanism, which can lock in the fully-extended or fully-retracted positions, and a fully working twelve-blade aperture (many consumer lenses have nine). The latter is a first for a 3D-printed lens designed around a full-frame digital camera system - and the result is smooth bokeh, vibrant sunstars, and crisp results.
Specifications
Focal length: 163mm
Maximum aperture: f/2.5
Minimum aperture: f/11
Lens mount: Canon EF
Lens coverage: Full-frame digital
Diaphragm blades: 12, rounded
Weight: 329g
Anyone can assemble the Pixels and Prisms lens. It has no fasteners or screws and parts are bonded using household super glue. Apart from the glass element, the lens is 100% 3D-printed. The total material cost was approximately $13.
For under $15, Pixels and Prisms is a viable low-weight lens option for travel, portrait, or street photographers, as well as a cost-effective entry point into telephoto photography. The aperture and zoom system can even be modified to work with any lens element, so long as an extender is added to the front of the optic.

Because of this flexibility, the lens could serve as a means of accessing specialized focal lengths – e.g, 600mm – that doesn't require a large investment. In future iterations, the design focus will be on working towards a more convenient form factor and a wider variety of features, including further improvements in optical quality.
Sample Images
I chose a sample portfolio of seven images that illustrate the lens's technical and creative potential and its excellent optical qualities.
A lawn shows the sharpness of the lens:

Especially when magnified:
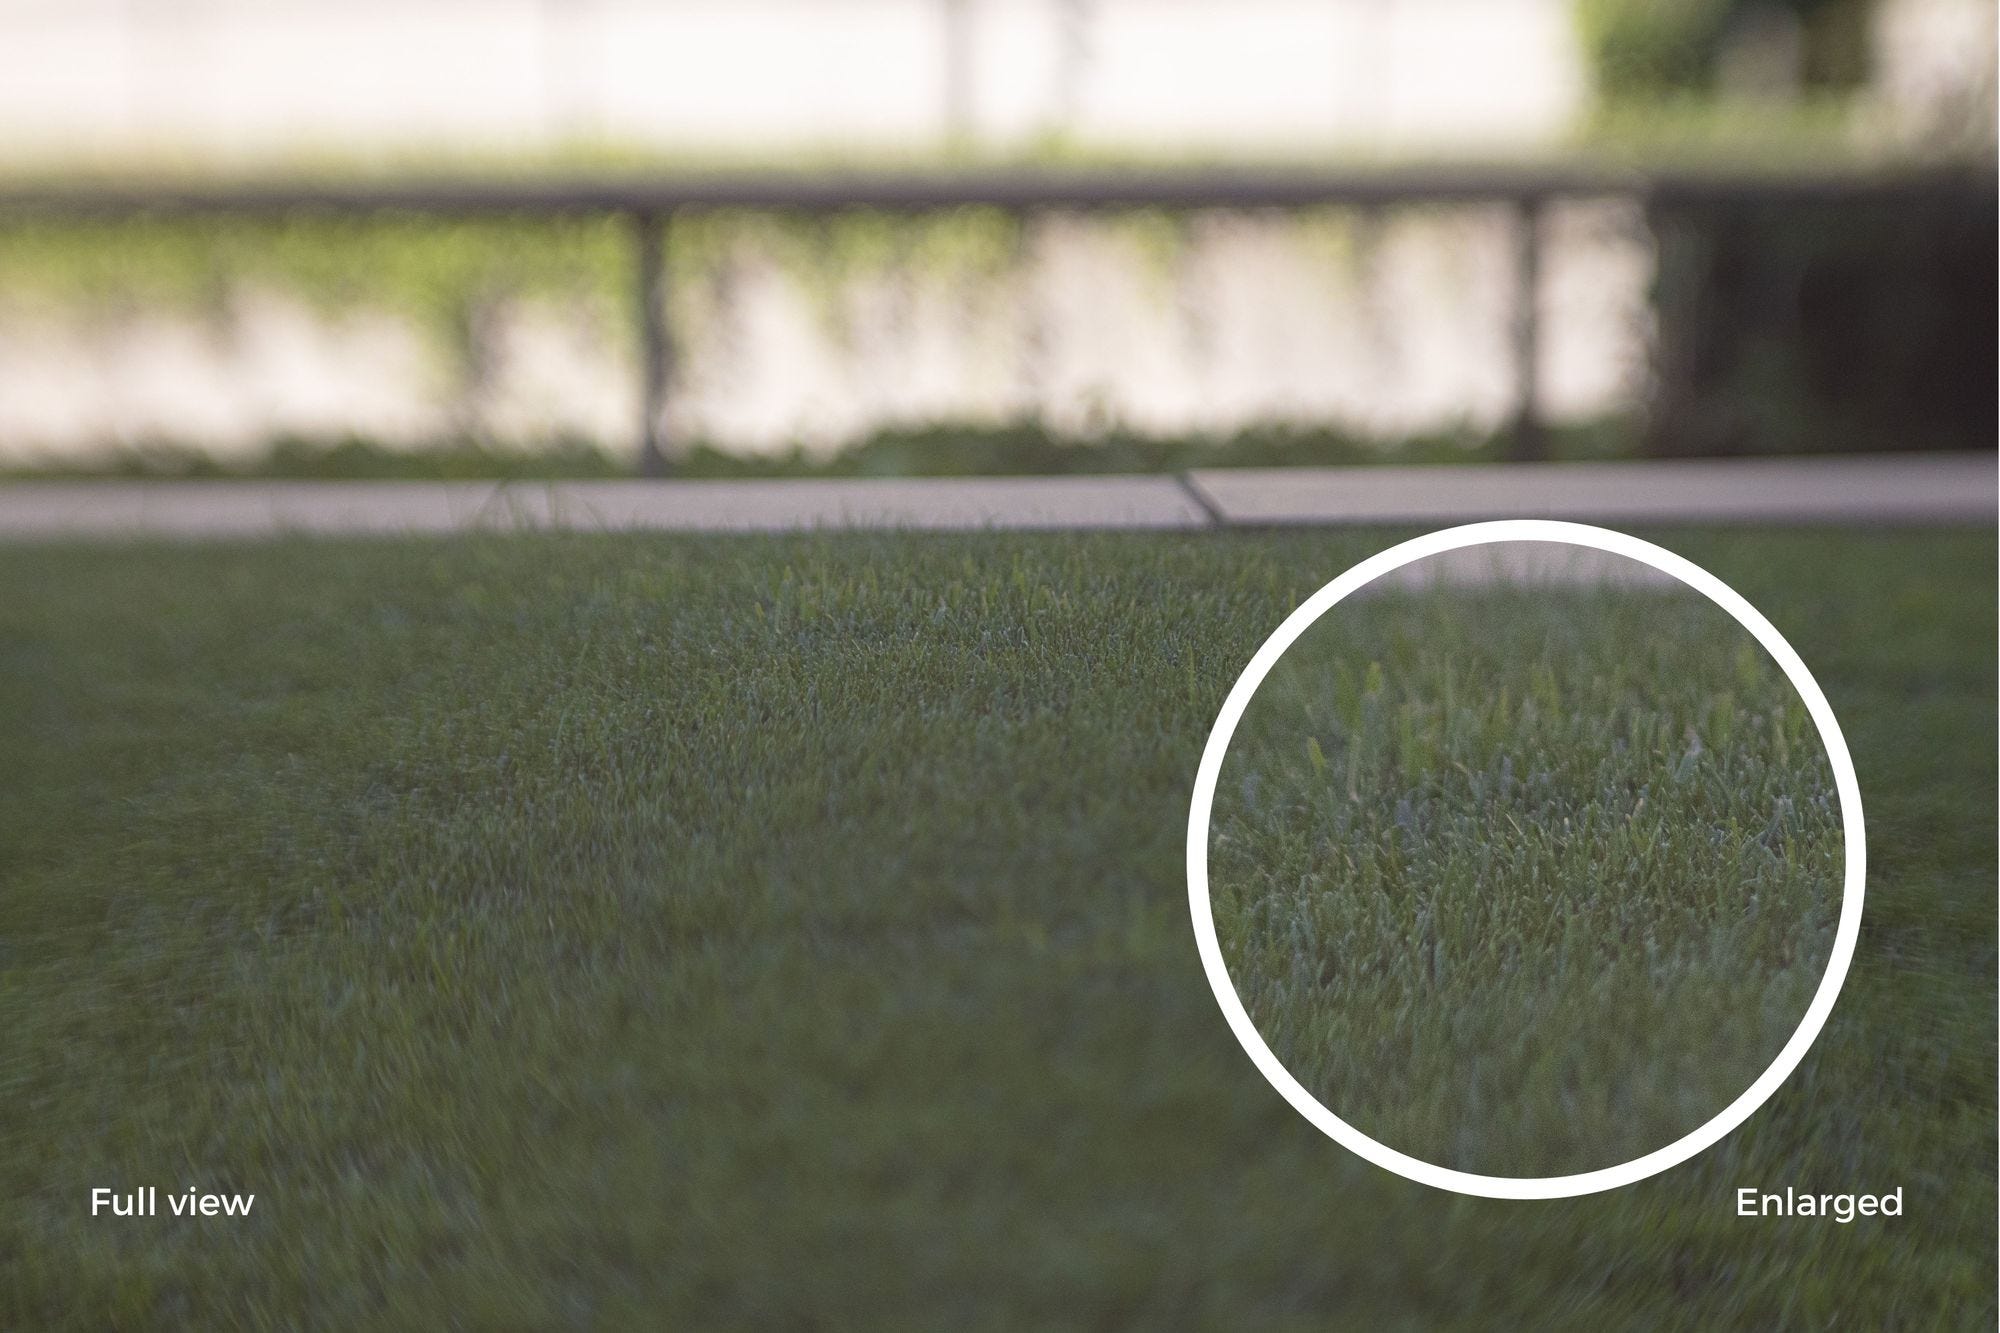
Other highly textured subjects work well:

The depth of field is relatively shallow at f/2.5, a quality enhanced by creative edge effects:

But with less typical subjects this lens begins to come into its own.
A classic NYC fire escape demonstrates soft, smooth bokeh:

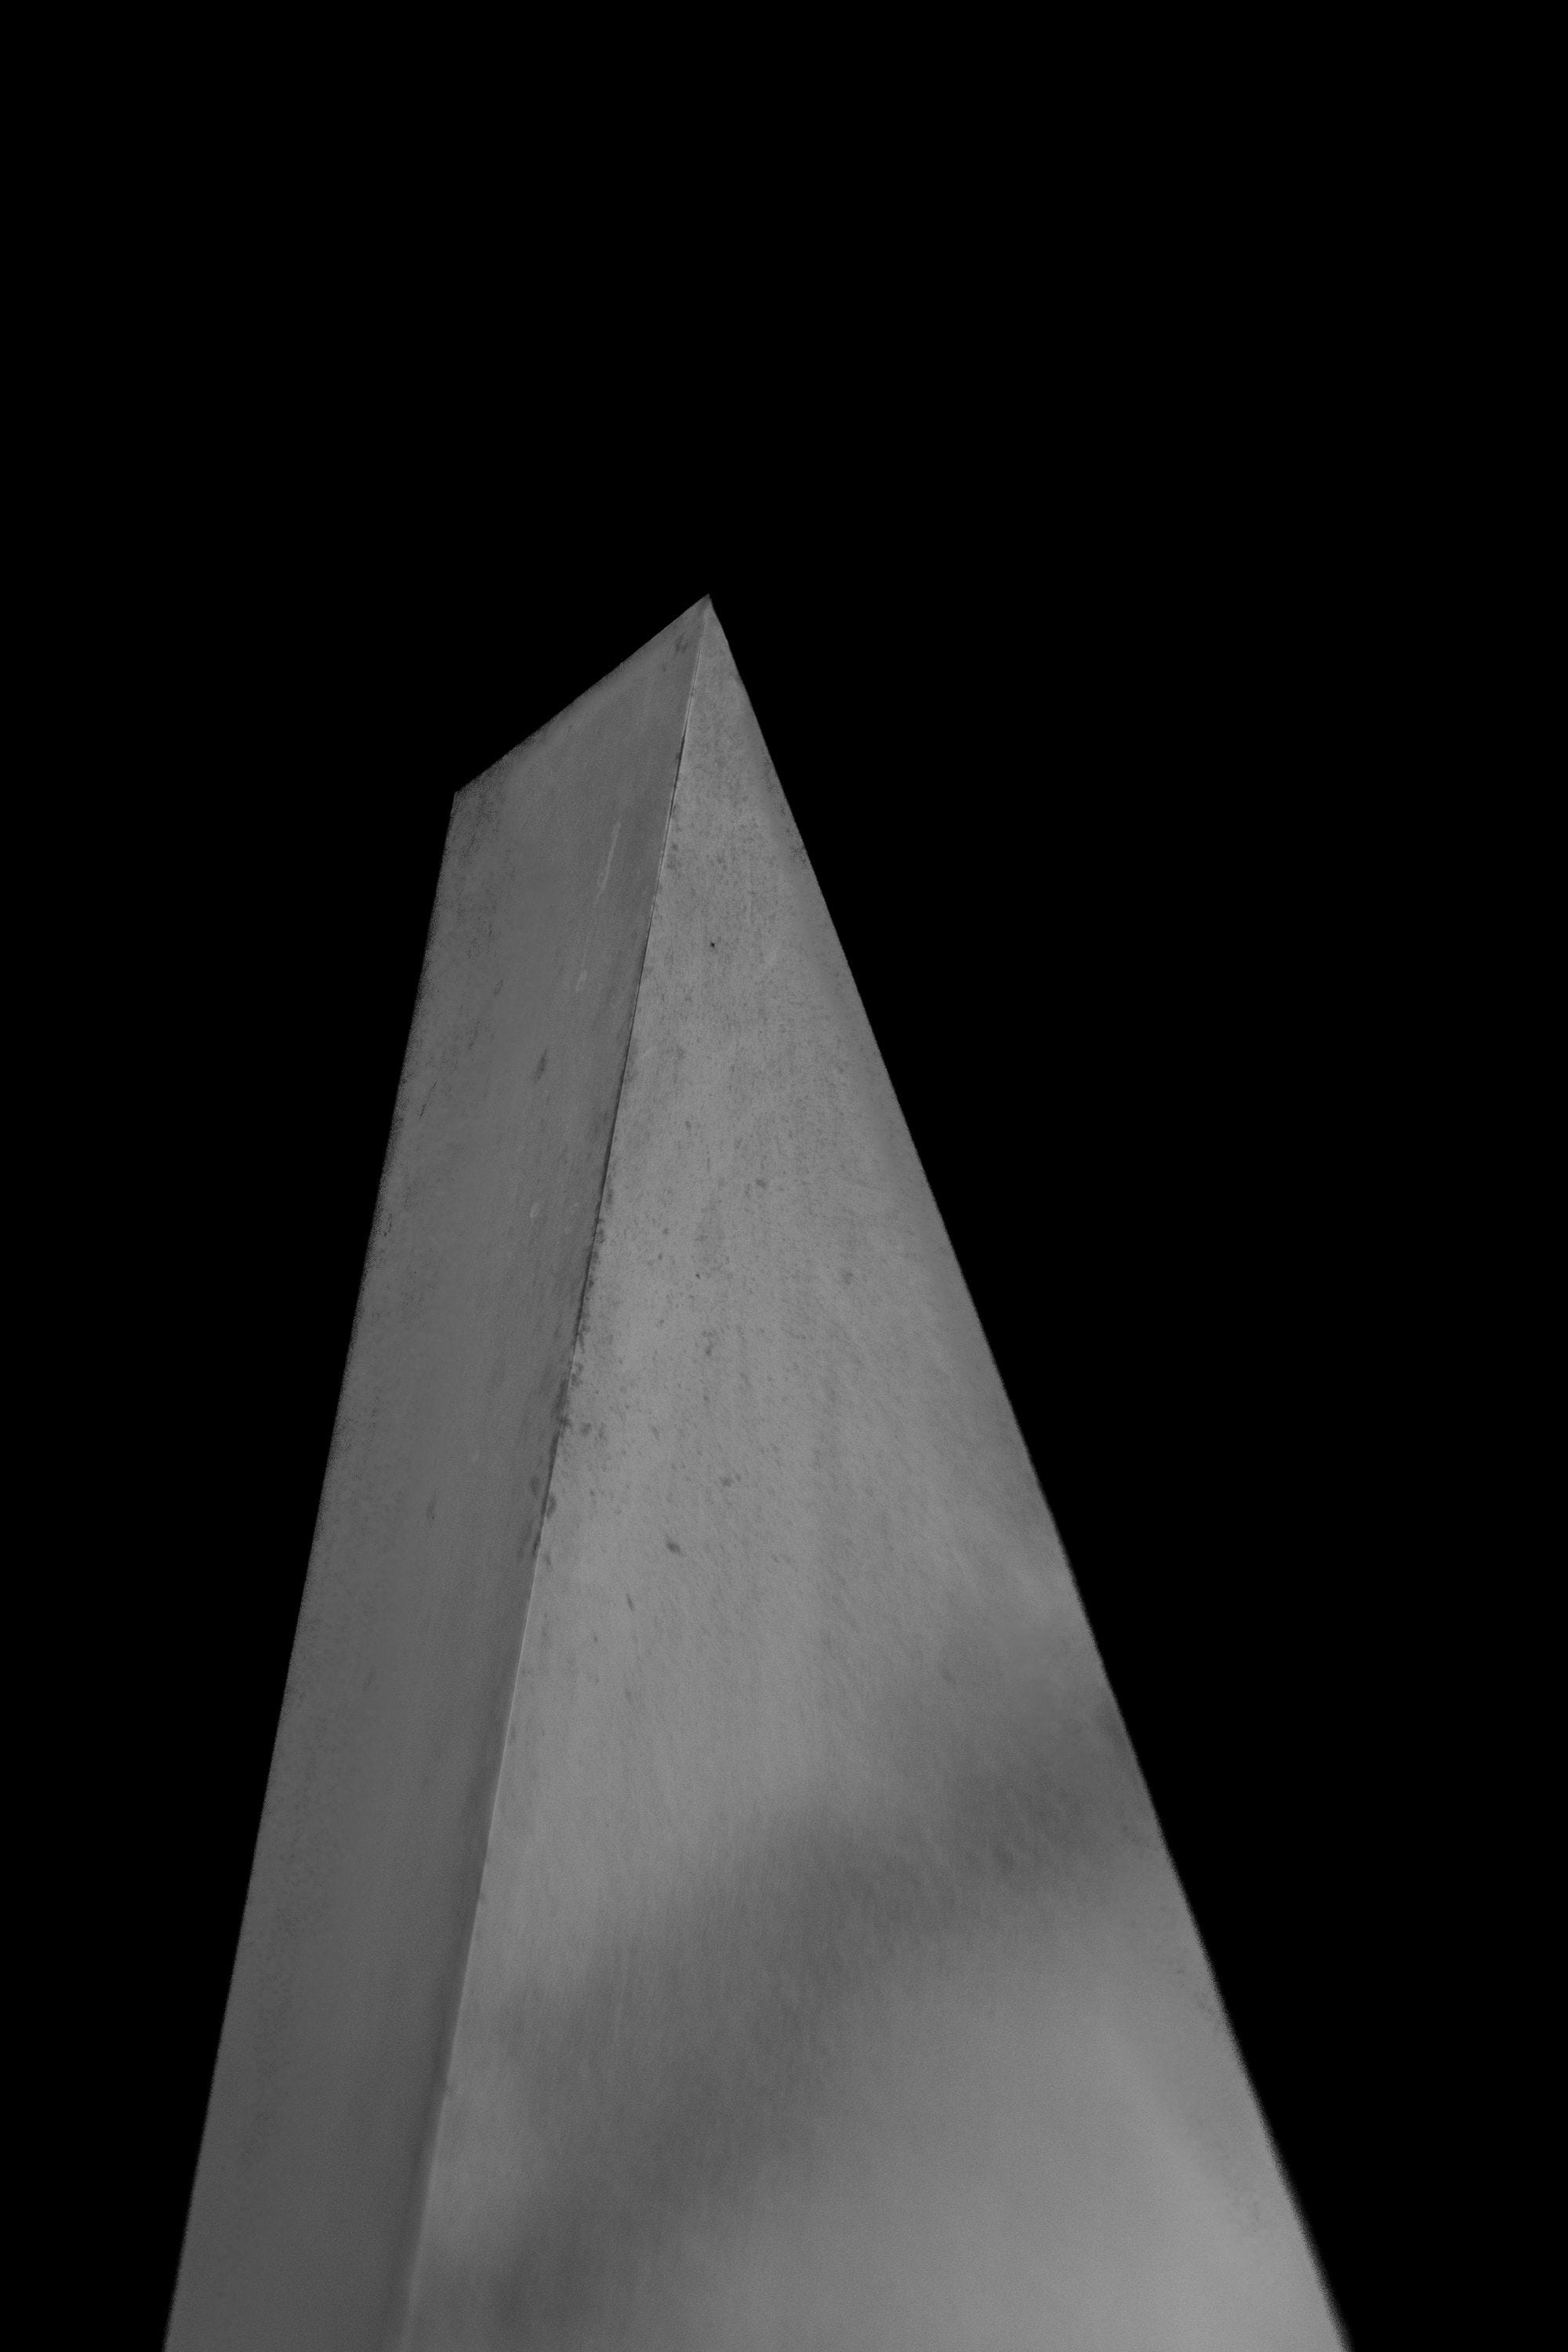
…and with moody architectural photos, the potential of the telephoto to resolve details and contrast becomes clear:
Process
The process of designing and creating this telephoto lens was an endeavor that started with the creation of an optical formula. The print files below are open for you to download – and the following will allow you to source and fit a lens element to go with them.
The surplusshed.com website features a 'lens finder' tool, and sells reliable achromatic (two-part) and other lenses. Ebay is another option, especially for wider-aperture lens elements. In any event, you will want to find a lens with a diameter of around 65mm.
The Surplus Shed website features a focal length alongside each lens, and often, Ebay sellers include similar information. You will need to perform your own measurement for completely reliable results, though.
First, balance the lens upright (on its edge) on a table or desk. Then, position a light source on the other side of the room, and direct it towards the lens element. The lens will focus the light at some point above your surface. The exact point is easily located by moving a sheet of paper to and from the lens: a halo will appear that drifts in and out of focus as you move the paper. Finally, mark the point of sharpest focus and measure the distance from the lens element. This is your focal length (although I would recommend double-checking your calculation).
The result is a measurement that can be used to create a simple lens casing, to test image clarity and focusing before moving on to the finished project. Shift your lens into focus in front of your camera until you are satisfied by the quality of your element. Alternatively, slide your lens element along a tube of cardboard. Any part that will allow you to test the performance of your lens by making adjustments in distance to the sensor should work here. Once you're satisfied that you have an acceptable lens, set it aside and begin 3D-printing.
On a more theoretical note, Optical Ray Tracer, a free online tool, will help you get to grips with the principles behind your lens. The software allows you to free-draw lenses and beams of light, among other functions. It allows you to create loose models of aperture and focal length - but a feature which visualizes the focusing mechanisms that you will be working with is Zoom Lens, a preset stored in their 'Examples' library.
The lens barrels and aperture blades were modeled in Onshape, an online product design software. Interlocking segments form the structure of the telephoto. For instance, the aperture control ring isn't bonded to any other parts: it is secured with a flange. Onshape's 2D sketch system provided for the easy visualization of these mechanical connections. The speed and ease of 3D-printing allowed for prototyping even as parts of the design were unfinished. In total, the lens took just three weeks to make its way from the drawing board to the front of a camera.
Open-source
As a photographer, the experience of building this lens was a valuable method of connecting with the principles which underlie much of my work. When a change in lens design affects your depth of field or sharpness, you develop an acute understanding of, and appreciation for, the equipment and techniques that you employ.
This experience is available below under a Creative Commons Attribution-NonCommercial-ShareAlike 4.0 International License.
Build Instructions
You can access the print files and build instructions for the lens on the Build Instructions page.